#
Debra Quartermain Design
Latest Posts
Categories

 the CEO! Creative Eternal Optimist! Blog 
Monday, April 23 2012

I have been a little scissor happy of late, my Westcott Brand pink scissor collection hangs on the wall as anything pink in my studio is on display. Since the T-shirt Remix contest at CHA I have been trying different cutting techniques on a variety of fabrics.

Being spring, flowers are just starting here to bloom so I am inspired to create a blossom pillow using fleece. I cut two 10" fleece circles and then several 6" strips of fleece. Folding the strips and cutting even slits from the fold in to create the looped fringe. With fabric glue begin gluing the fleece fringe from the outside in to the center. A contrast color adds interest. Glue the two circles shut leaving an opening and stuff. Glue opening closed.


Posted by: Debra Quartermain AT 11:29 am   |  Permalink   |  2 Comments  |  Email
Monday, March 05 2012

It is the first Monday of the month, time for the Designer Blog Hop Crafts Connection!  Forty talented designers strut their stuff and offer some surprises as you hop along! We are celebrating interNational Craft Month! With Easter just a few weeks away I am featuring the tutorial for the cute chick/duck I demoed for a segment of Creative Living with Sheryl Borden.

Sheryl is holding the baby duck in the photo that I demoed on the show. In yellow it becomes a cute chick!

Materials:
3", 6" balls, 4" cube of MakeitFun STYROFOAM
Brand Foam
1/6 yard yellow fleece
1/3 yard orange fleece
9" x 12" pieces of  Canary (yellow), Papaya (orange) scraps of Fuchsia, Seashell Pink, Caribbean Surf ( teal) Xotic Felt by National Nonwovens
6" fabric scrap
1 chenille stem
1 skein black, pink embroidery floss
6 black, 12
colored head quilt pins
Aleene's Fabric Fusion

Upholstery thread
Embroidery Needle
5", 8" Westcott Brand® Titanium Steel Scissors
(Ruler, measuring tape, pencil, circle templates for large duck 12", small 8")

  1. Making the Ducks: For both the 3" and 6" ducks construction is exactly the same. The pattern pieces included are for both sizes. Any variations will be indicated in instructions. For the 3" duck cut a 3" and 8" fleece circle. For the 6" duck cut two 3" and one 12" circles. Cut two of each cheeks, beaks and four of each foot from felt. Cut ½" by 9" strip of felt for bows.

    .
  2. With upholstery thread anchor thread at edge of the large circle. Sew a small basting stitch around the complete circle.
  3. Pull stitches slightly. Place circle over ball pulling stitches tightly. Circle should stretch to close. (On larger duck if this does not happen, a small circle can be glued on bottom to finish the body.) Secure thread and cut.

  4. For small duck cut 3" circle in half. Fold in half again wrong sides together and glue. For large duck fold each 3" circle in half wrong sides together and glue. Glue wings to sides of body as shown in photo.
  5. Glue beak pieces together angling top one slightly higher than lower beak. Make two small stitches at top of beak. (These stitching details are optional; they can also be recreated with a fabric marker.) Glue beaks to center of face slightly above wing line.
  6. Insert two black head pins as eyes. Adjust until you are pleased with location. Remove and dip in glue, reinsert pushing in to indent in face slightly.
  7. Sew around cheek circles with pink floss if desired or use fabric marker or add just as is. Glue to face of duck under eyes. Refer to photo for placement.
  8. Place feet together in pairs, reverse one pair. Glue together. Outline in black floss with a small stitch as an option. Glue feet to bottom of bird. Tie bow from felt strip, pin or glue to head.
  9. Making the Chicken: Use the ruler to cut a 4" by 16" strip of fleece. Cut two 4" squares of fleece and one 3" circle. Cut one 1 ½" by 3" topknot piece, two beaks, two 3" by 3" strips and four feet from orange felt. Cut one 3" circle from fabric scrap. Cut one heart from teal.
  10. Begin at one edge of cube and glue long fleece strip. Wrap fleece piece around cube bringing it back to the edge to meet. Glue in place. Glue each 4" square on the opposite two remaining sides along edges. Press fleece seams together, add more glue if needed.
  11. Cut 3" fleece and fabric circles in half for wings. Glue or sew with black around edges. Pin or glue in place on either side of chicken. (Approximately at 3" mark.)
  12. Cut chenille stem in two 3" pieces. Roll an orange strip around each leg and glue. Place feet in pairs reversing one set. Glue or topstitch in black around edges. Glue to end of each leg. Glue to edge of body.
  13. Glue beak pieces together with top one slightly above lower beak. Glue to face. Insert two black head pin eyes. Add glue to ends and reinsert indenting slightly.
  14. Fold topknot in half, cut through from fold to 1/4 " from ends. Glue to top of head. Stitch through heart with black floss. (Optional or use fabric marker.) Glue heart to body.

    Have fun hopping! Leave a comment here to enter your name for a fabulous pair of Westcott Brand® Extreme EdgeTitanium Steel Scissors!   
Posted by: Debra Quartermain AT 12:09 am   |  Permalink   |  5 Comments  |  Email
Monday, February 27 2012

I have had the pleasure of working with the Makeit: Fun STYROFOAM Brand Foam for several years now and the design possibilities are endless! For kids crafting with any kind of materials combined with the foam they can create magical creatures to fantastical structures to wild wall art! (and so can big kids too!)

For the Creative Living segments I taped in NM I showed how to make some funky birds from a foam ball shape and cube. A full video how to coming shortly!

By simply taking the shape and some fleece which has a bit of stretch and clings to the ball easily. You can create the cutest characters. Soooooo introducing Roberto Rooster and Daphne Duck! Creating the JOY! always!

Posted by: Debra Quartermain AT 08:32 am   |  Permalink   |  0 Comments  |  Email
Sunday, February 12 2012

Taping segments of Creative Living with Sheryl Borden in New Mexico was a great experience! I travelled to Portales NM with a good friend. She got to watch behind the scenes and from the control room. Everyone connected with the show was warm and welcoming. Sheryl is delightful to work with and made me feel at ease.

Besides the usual concerns, hair wouldn't co-operate in the morning, last minute change in wardrobe which was a good thing as wearing a blouse and skirt made it much easier to place my mike and attach box to back of my waistband!

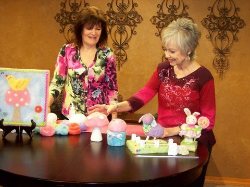
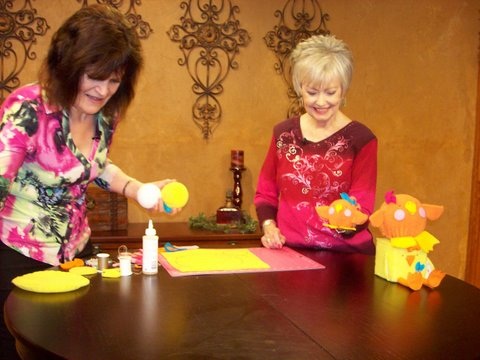
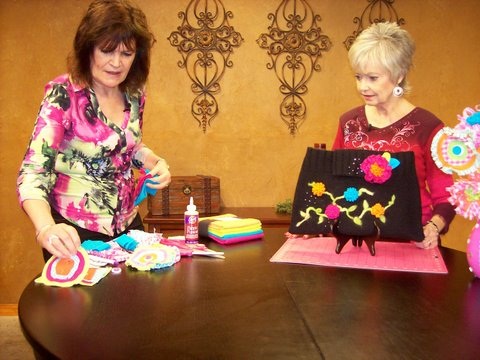
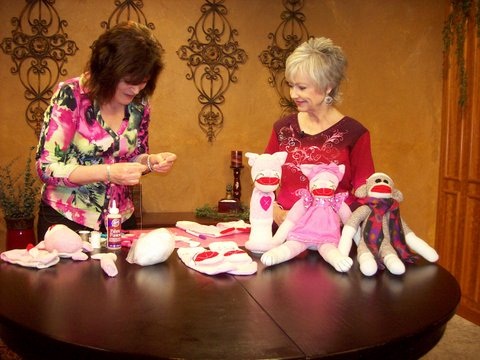
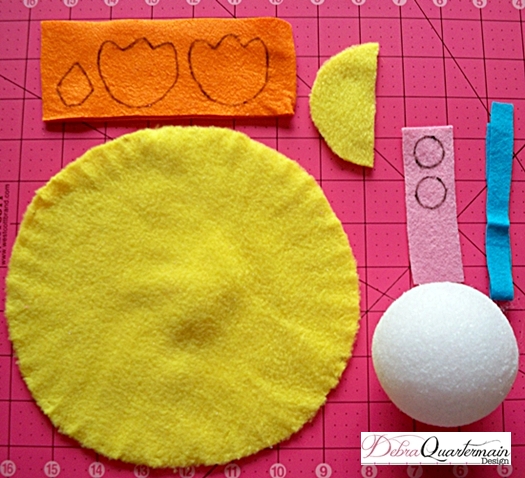
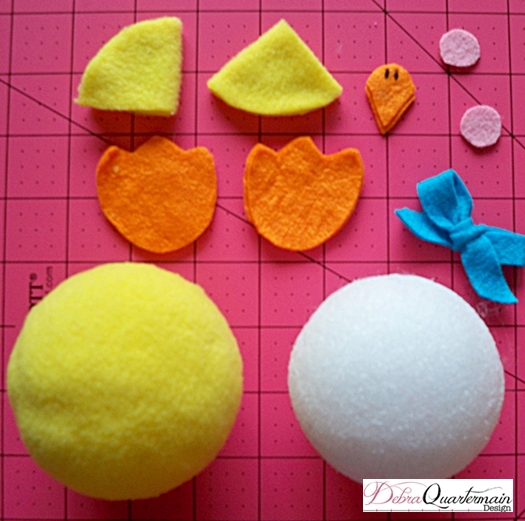
I had prepared stepouts for each of my four segments. As we finished one segment all the pieces were whisked away and the next set arranged on the table. Count down would go to three and then Sheryl would be cued by signal to begin. That moment I would take a deep breath ready to start. My intent was to make the demo of the project as clear as possible.

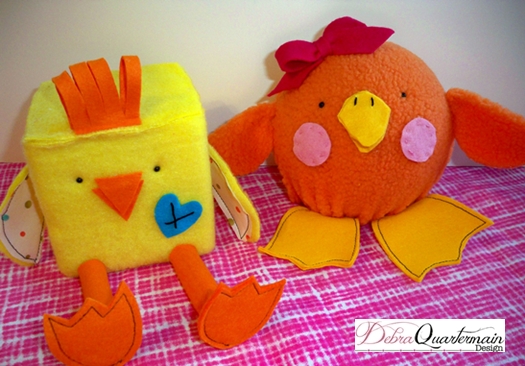
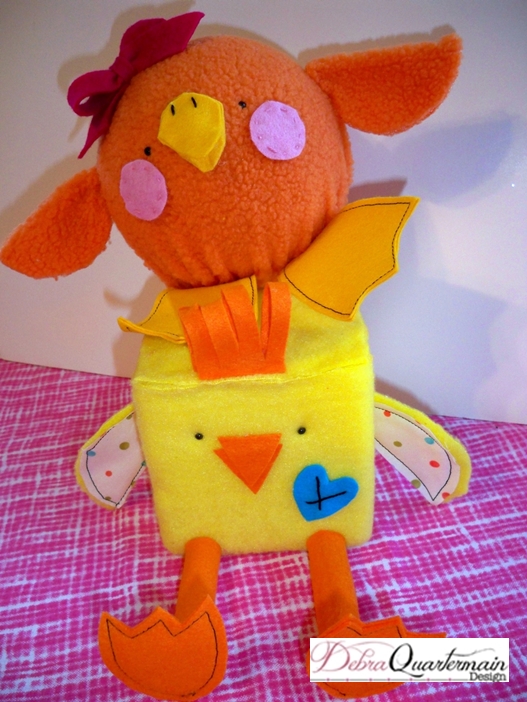
I was fortunate to demo projects for three sponsoring companies whose products I work with constantly, Westcott Brand Titanium steel scissors, Make it: Fun Styrofoam Brand Foam and National Nonwovens wool felt and Wool Wisps.

The segments will air next fall on 118 PBS stations in four countries. I will have the segments on You-Tube in a couple weeks along with the instructions for the projects. Below are some photos that were taken before each segment began while we were setting up. I am very grateful for the experience, to Sheryl and the KEN-W crew for making it as easy and enjoyable as possible!

Posted by: Debra Quartermain AT 03:19 am   |  Permalink   |  0 Comments  |  Email
Facebook
LinkedIn
Add to favorites
Twitter
Debra Quartermain Design

 Magical Mimi to Grandlittles, I love to create, decorate & celebrate. Sharing  joy and inspiration from our 200 year old home, Quartermain House B&B on the east coast of Canada.

" "
Facebook
LinkedIn
Add to favorites
Twitter
    Sign Guest Book  View Guest Book 

    Debra Quartermain Design
    Fredericton, NB
    Canada
    Web Design Debra Quartermain
    Illustration Deborah Peyton
    Content copyright Debra Quartermain
    Email: debraq53@gmail.com

    Design Your Own Website, Today!
    iBuilt Design Software
    Give it a try for Free