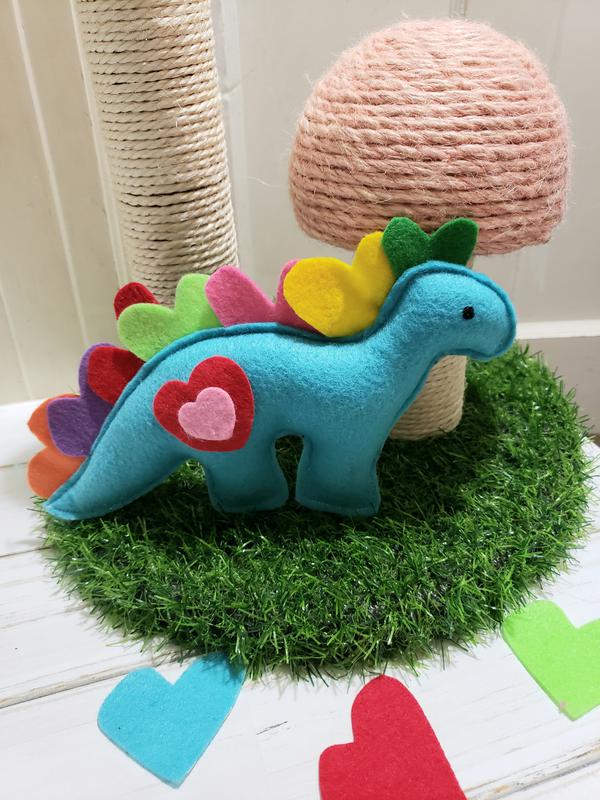
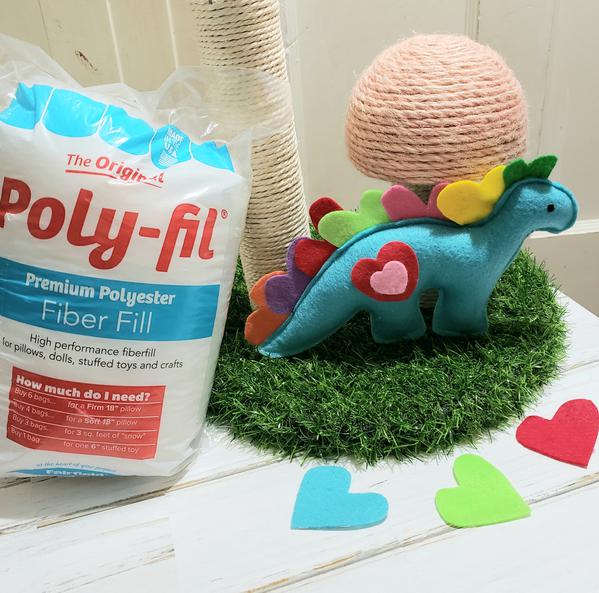
It is all about rainbows and love! Here is my magical rainbow dinosaur stuffie filled with love! This How to Make a Felt Rainbow Dinosaur Stuffie is perfect for a Back pack tag a long! It is filled with love as the rainbow plates along his back are actually hearts. He is definitely stuffed with love and Premium Poly-fil from Fairfield World.
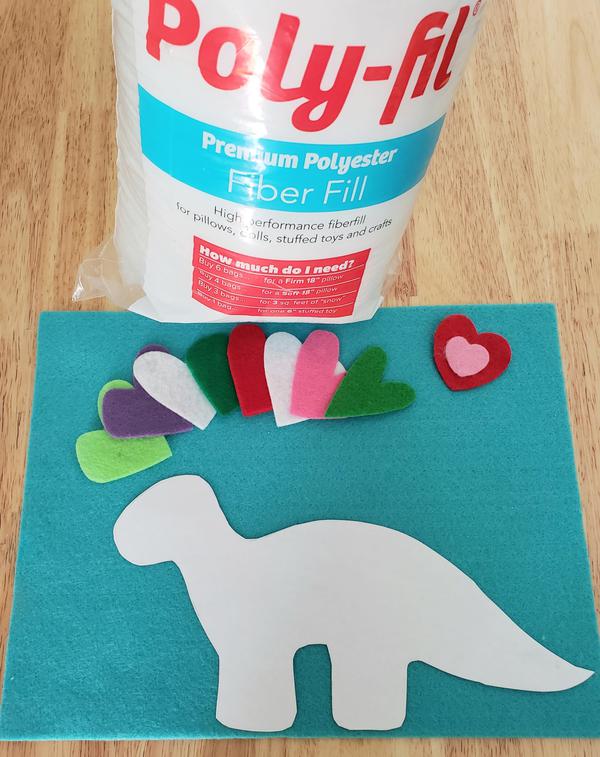
Let's Make a Dinosaur Stuffie!
Download Dinosaur Pattern
Fairfield Poly-fil
2- 9" x 12" craft cuts of Kunin Felt: Lagoon or color of your choice
Scraps of felt for hearts
Chalk, fine marker, clips or pins, sharp scissors, fabric adhesive, sewing machine and matching thread or hand sew.
STEP 1
Die cut or free hand cut a variety of hearts. (I used Laura Kelly's Heart Die with Sizzix, I always cut a bunch of hearts at once as there are many projects that I like to use a heart.) Cut a smaller heart for the front. Download pattern and cut out. Trace pattern on to one piece of felt.
STEP 2
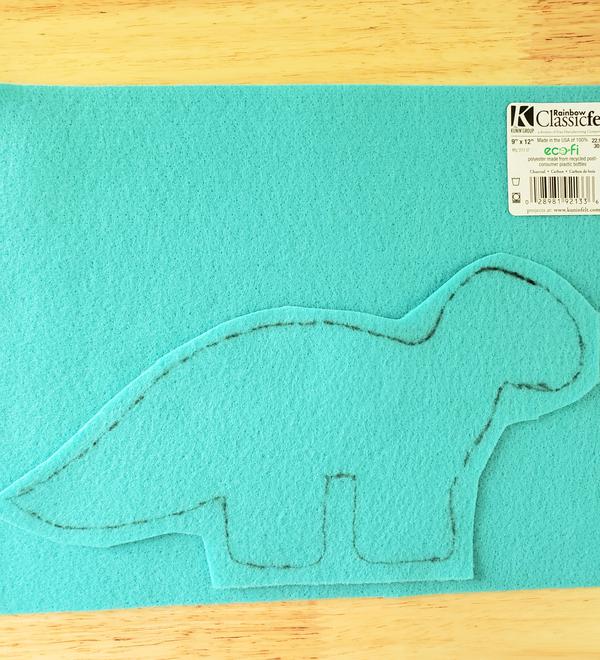
Cut around first dinosaur shape roughly. TIP: It is easier to sew small felt pieces when you have extra felt around the pattern piece. Place on second piece of felt and cut around shape roughly.
STEP 3
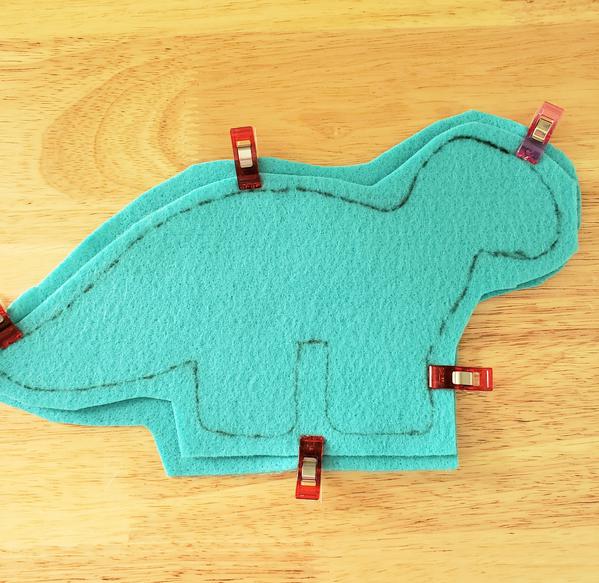
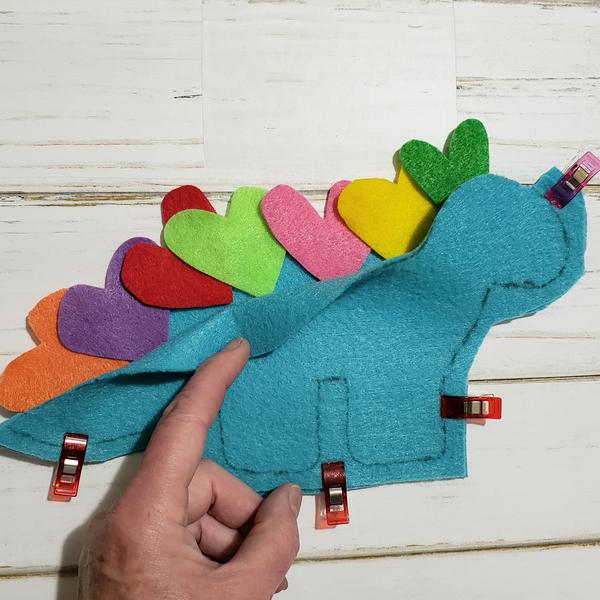
To add the heart plates along the back. Trim close to the pattern line and then insert hearts as shown.
STEP 4
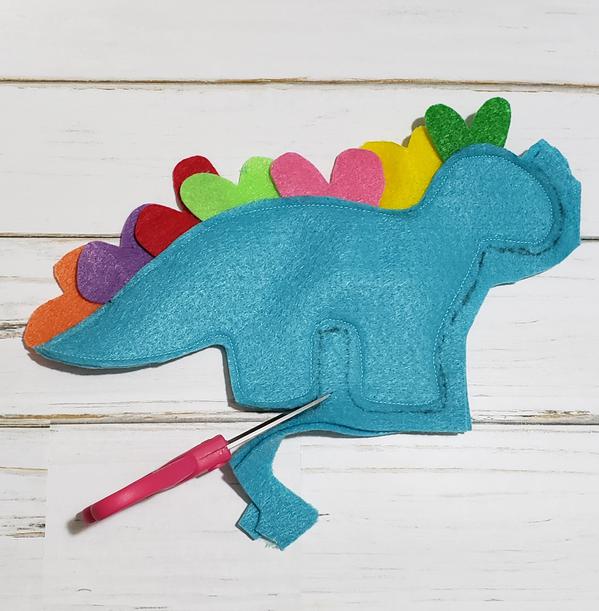
Use sewing machine or hand stitch completely around dinosaur, 1/8" to 1/4" in from pattern line. Trim off line if you have used a black marker making sure to remove all black. (An invisible marker or chalk are good choices for drawing patterns.)
STEP 5
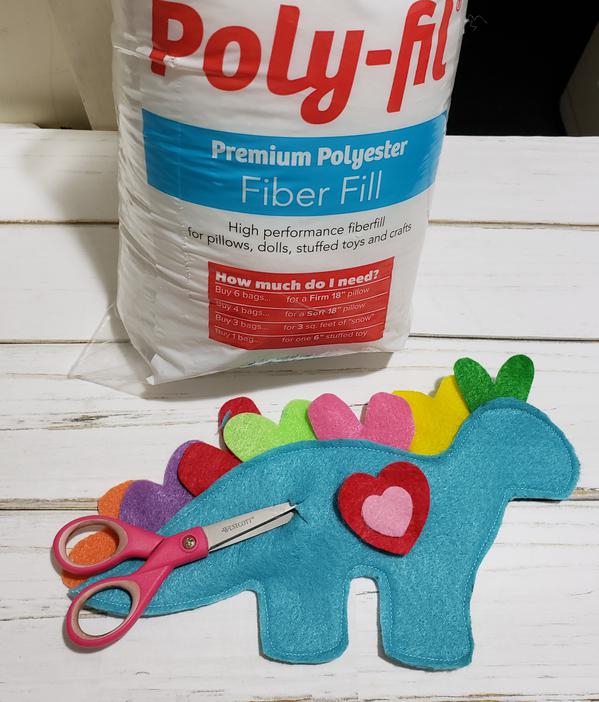
Many stuffie patterns suggest leaving an opening and stuffing the piece and then sewing shut. I use that method but often for smaller stuffies that have an added detail like the heart. I find this method easier. Just cut a small slit where the detail goes.
STEP 6
Stuff. Simply glue detail, the heart over the small opening. Ta Da! Your dinosaur stuffie is complete!
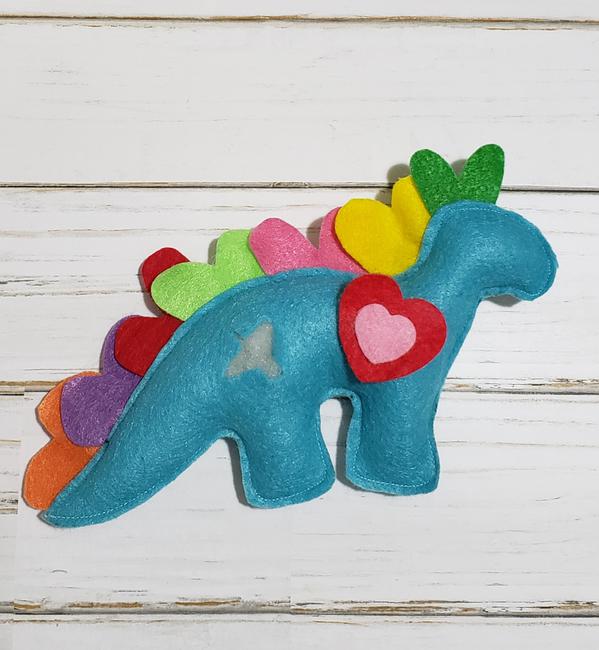
I hope you are inspired to Make a Felt Dinosaur Rainbow Stuffie!
Having fun sharing rainbows with Team Creative Crafts!
Creatively yours!


IG @debraquartermain