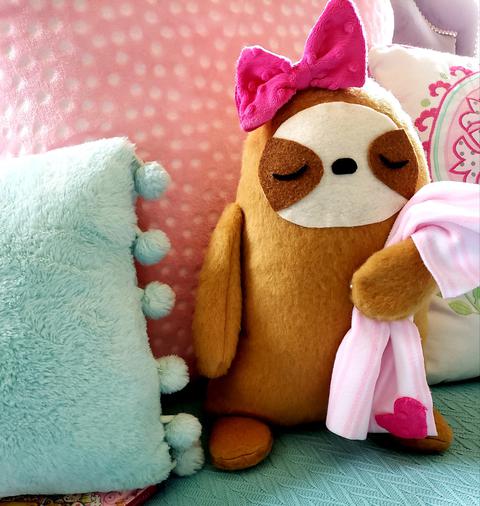
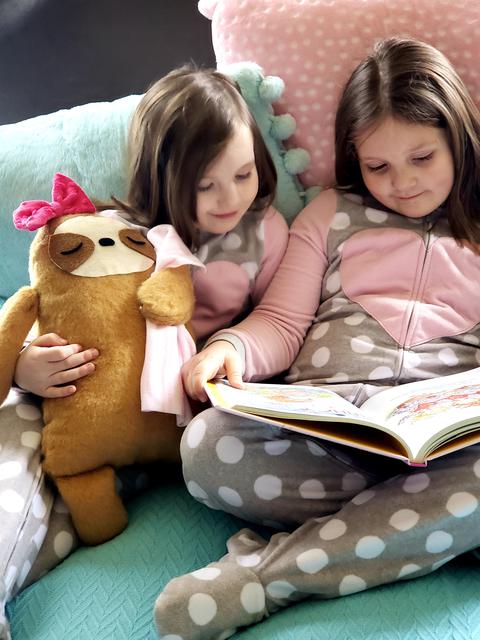
I am delighted to be partnering with Fairfield World on this post. Making stuffies has always been my first love and now with grandlittles to sew for it is even more fun! I designed this Plush Stuffie Sloth for sleepovers at Mimi's house. I have been using Fairfield World Poly-fil forever and now adding the Poly-Pellets for weight. The sloth can sit when not being hugged and the paws are squishy. (So I am informed by a four year old expert :)
Here is what you need to make your own sloth stuffie.
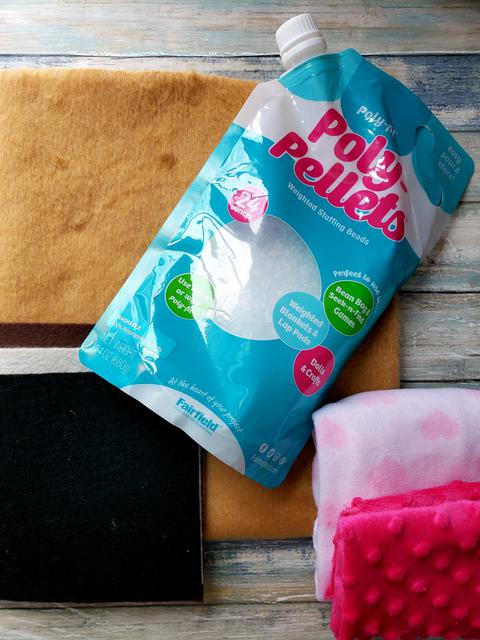
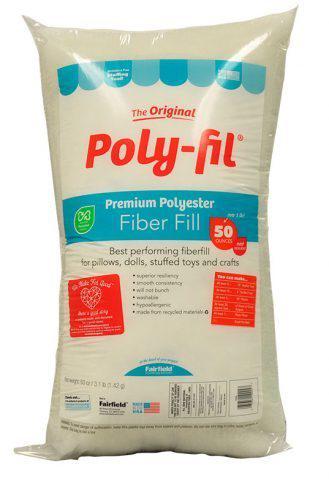
Fairfield World Poly-fil
Fairfield World Poly-fil Poli-Pellets
1/2 yard Cashmere Tan Kunin Plush Felt
9" x 12" craft cuts Kunin Premium Felt: 1 Cream, 1 Black, 1 Walnut
12" x 18" Fleece
Fabri-tac by Beacon
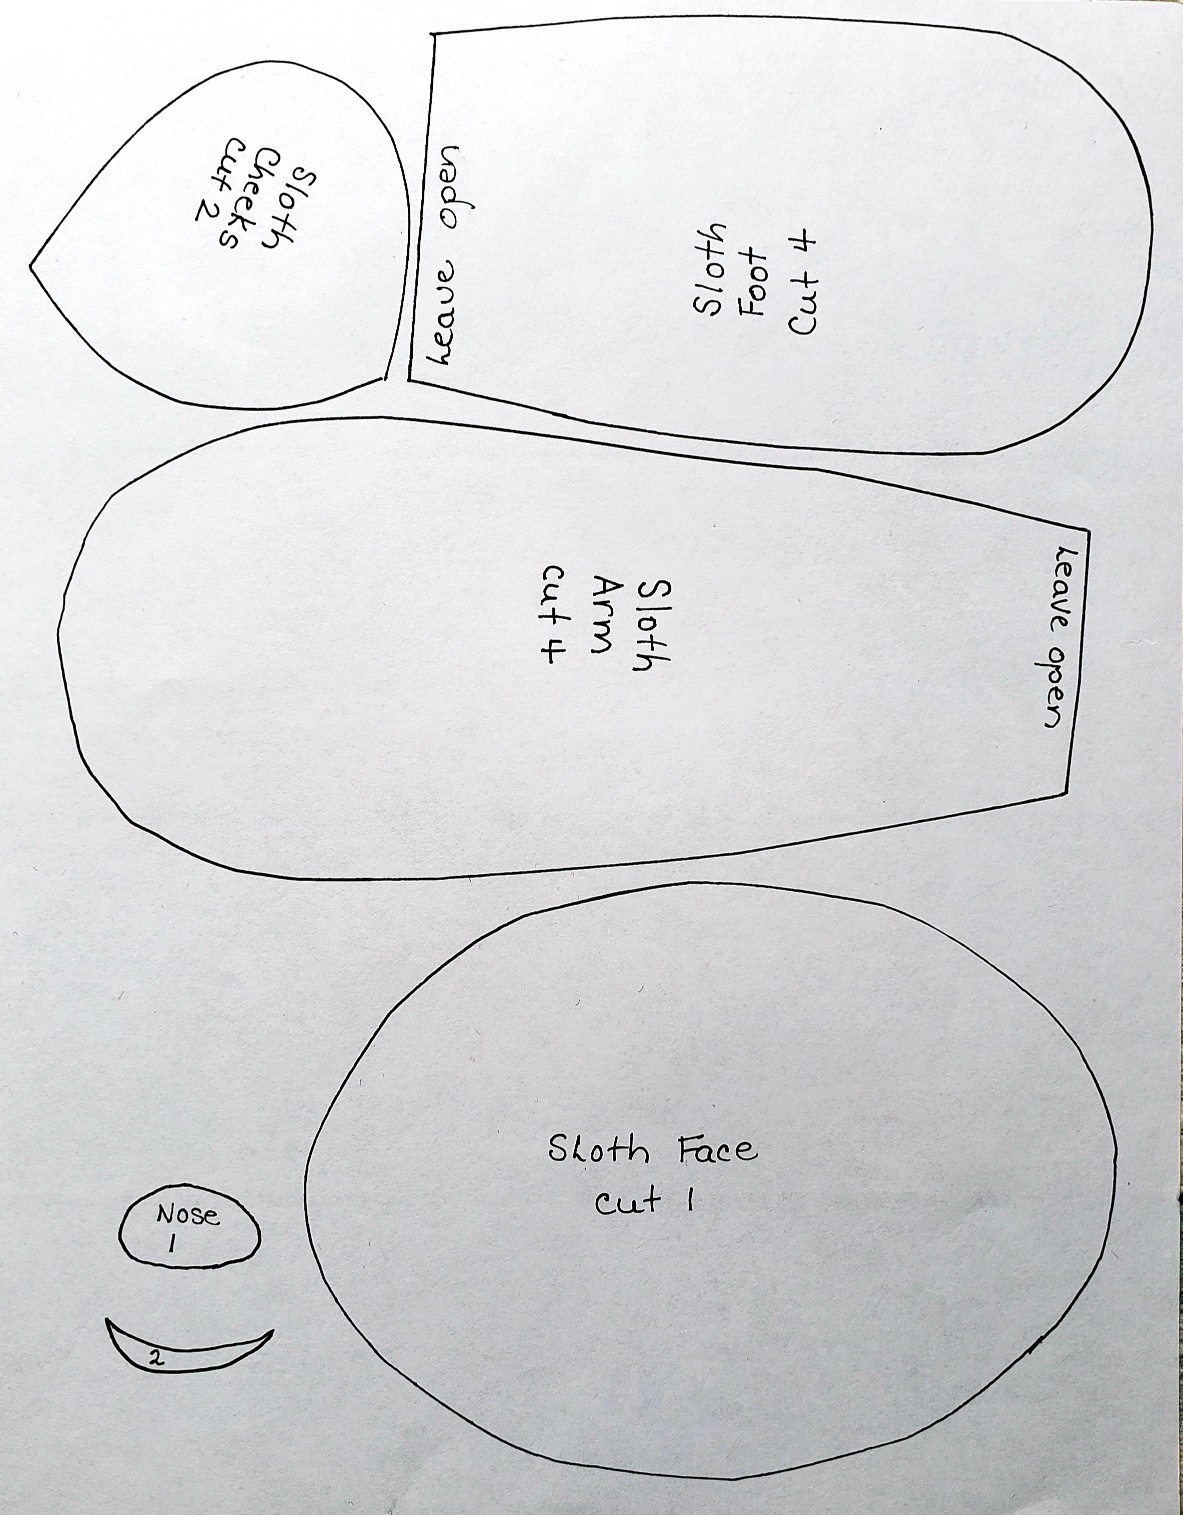
Sloth Stuffie Pattern
Scissors, Marker, Paper, Clips, Pins, Measuring Tape, Ruler, Sewing Machine and thread, Needle
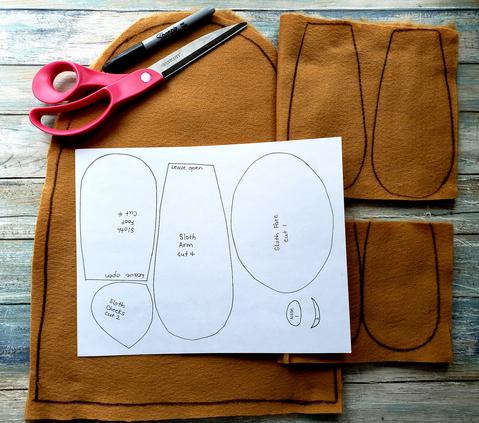
1. Plush felt has a nap. Cut out pieces with nap running down when you brush it. For body pattern piece tape paper together to make a piece 13" by 17". Fold in half and draw a curved oval from center point at top and to 6" width at bottom. Cut and you will have a curved body piece 12" wide at bottom. Print off pattern page and cut out pattern pieces.
2. Fold plush felt in half wrong side out. Draw pattern as shown. TIP: Cut out larger than needed around pattern pieces. It is easier to sew plush pieces this way. Use clips to hold pieces together.
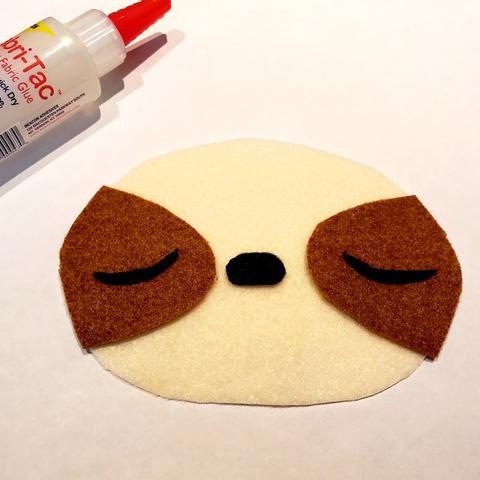
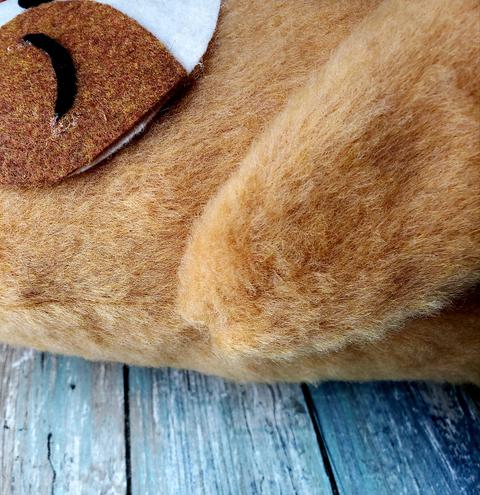
3. Cut face pieces out of felt and glue in place on sloth face.
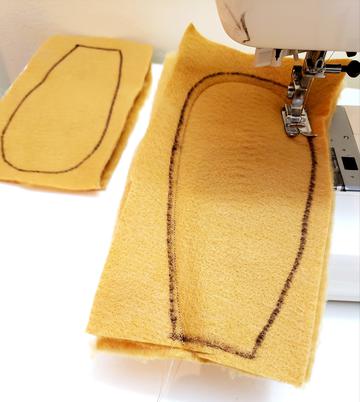
4. Sew around arms and feet for sloth. Cut out and turn right side out.
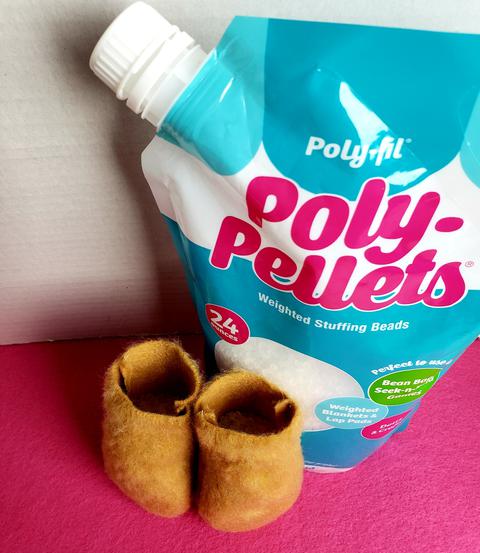
5. Fill feet and arms two thirds with pellets. Glue feet at this level inside. Sew top of arms tightly shut.
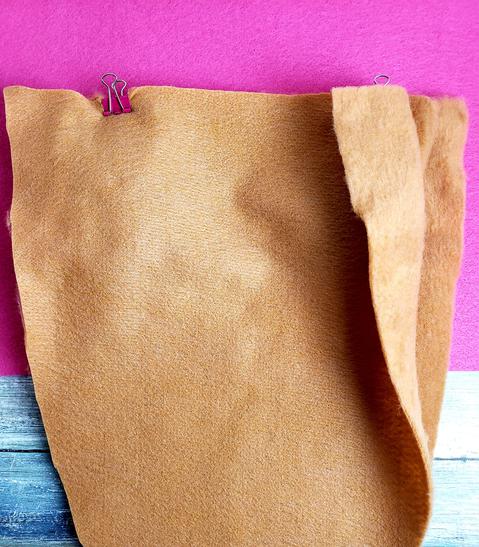
6. Insert feet 1" from either side of lower edge of body and clip in place.
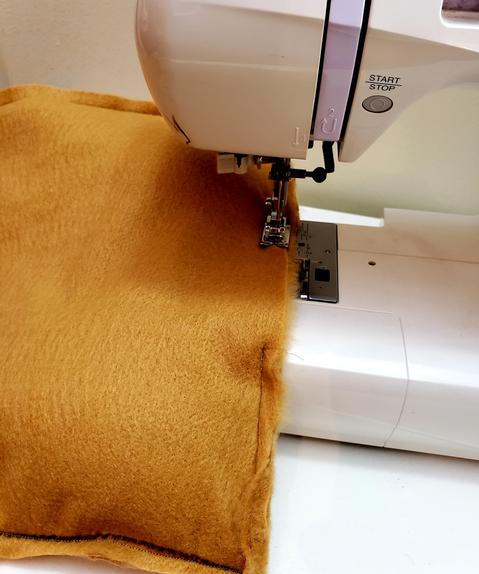
7. Sew around body leaving 3-4" open in center of body.
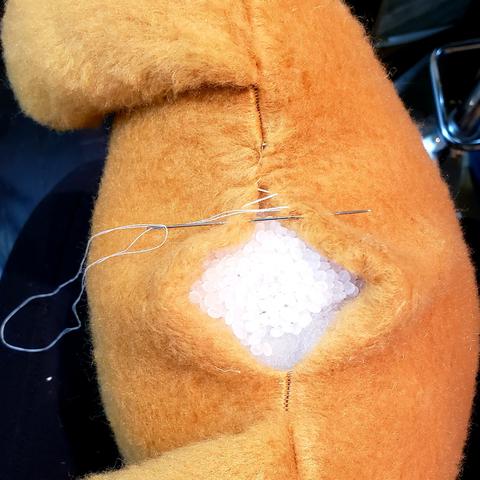
8. Stuff body with Poly-fil. Fill last two inches with Poly-Pellets. Turn upside down. TIP: Easiest way to sew this flipped upside down, hold between your knees and use a back and forth ladder stitch to sew tightly together.
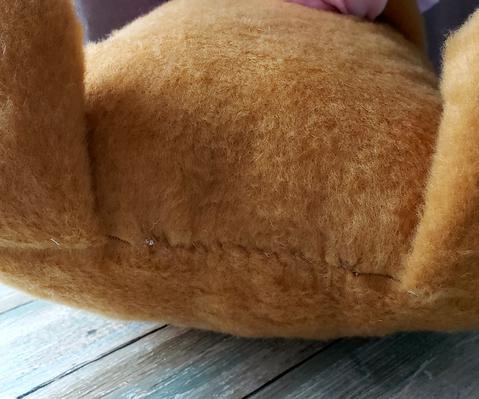
9. Plush felt is very forgiving, when you pull the stitches tight they disappear!
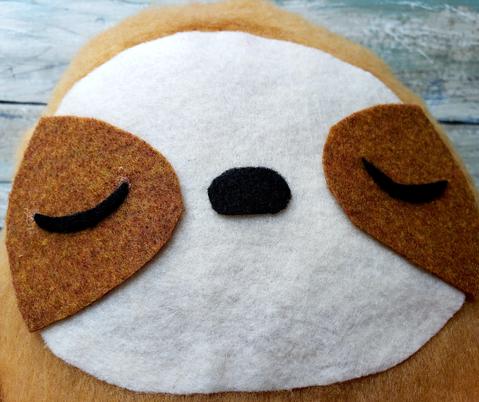
10. Glue on that cute face. TIP: I like to position the face first before adding the arms. You can then adjust arms to the right level.
11. Place arms on side seam and stitch in place. This plush Sloth is going to get a lot of loving so the arms need to be very secure.
12. I added a bow cut from a 6" square, folded in half and sewn leaving an 1" opening. Turn right side out. Tie strip around center. Cut a fleece blankie 12" square.
The plush Sloth well as you can see these grandlittle girls love her. Me, I get to partner with my favorite brands and create what i love for those I love. What could be better!
This is me, Mimi Magic Maker!


 Debra
Debra


