|
the CEO! Creative Eternal Optimist! Blog
|  |
Monday, March 25 2013
I love bunnies! I had a favorite bunny about thirty years ago, Willoughby, he was white with black nose and ear tips. Housetrained he would also walk on a leash and growl at the cats!
I have made many bunnies these past few years, needle felted, fabric, felt and clay. For the Smoothfoam blog I created a bitsy bunny with ACTIVA Hearty airdry clay. Quick and easy requiring just a foam egg and clay plus a few embellishments. He seems to have forgotten something!

You will need:
3"Egg of Smoothfoam
1 pkg of Hearty Clay by ACTIVA
Brads by Recollection
12" piece of green ribbon
Party Pink Acrylic paint by DecoArts
Clay roller
(Pin, knife, ruler, plastic cup, craft mat, ziplock bag)
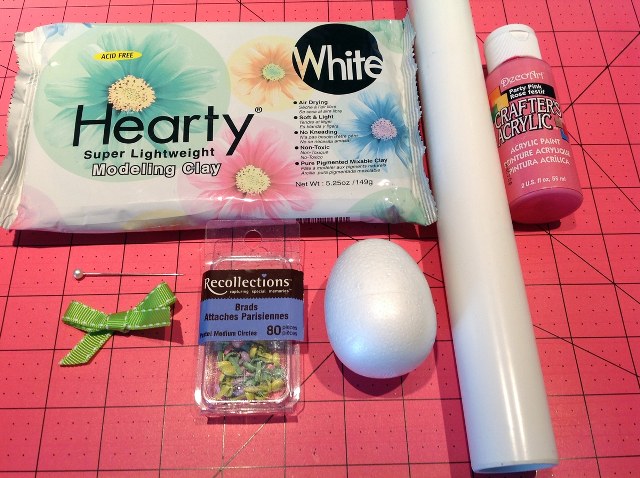
1. Break off 1/3 of packaged clay. Cut in half. Roll out one half for bunny body. Break off other half into five pieces.
2. Shape four pieces into long ovals for the feet and paws. Shape last piece into a rough ball for tail.
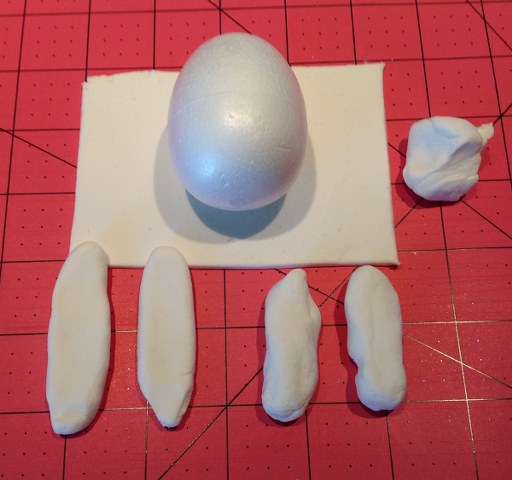
3. Wrap flat rolled piece of clay around egg, smooth and remove excess. Use finger dipped in water to smooth seams.
4. Refer to finished photo and insert eyes, nose, tummy brads into body. Use pin to make a hole if needed. Make eyelash, mouth marks with pin.
5. Attach paws and feet. Dip finger in water and smooth seams. Arrange paws in place. Add tail to back so bunny stands easily.
6. Break off another piece of clay for ears, make two long ovals flattening them in center. Place a drop of pink paint on mat. Wet finger and touch paint, rub lightly along center of ears. Repeat for cheeks.
7. Attach ears to top of head. Dip finger in water and smooth seams. Tie and add bow with a brad to top of head.
A package of clay will make a couple more bunnies or a batch of eggs, color easily with markers or paints. Keep hopping in National Craft Month and find all kinds of fun projects on the Smoothfoam Blog! 
Wednesday, May 09 2012
I had the enjoyable opportunity to teach a workshop during the provincial teacher's NBTA Council Days. Creating silly softies from the Lost and Found where many stray mittens, socks and gloves end up, softies that the elementary age kids could make.
It is all about the process, the act of creating with globs of glue, mismatched socks, wiggly eyes and scrap bits of felt, cotton balls and even dryer lint for stuffing!
Each of the teachers got a bag full of supplies tied with a Tootsie Pop and ribbons. Here are the gang ready to go, their bags are packed!
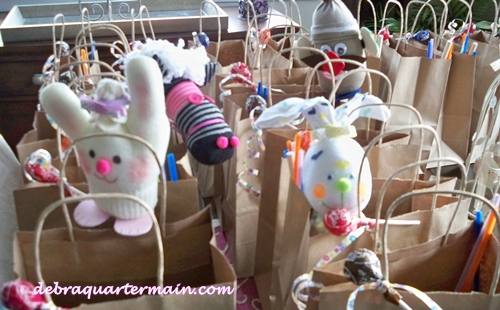
The teachers at play!
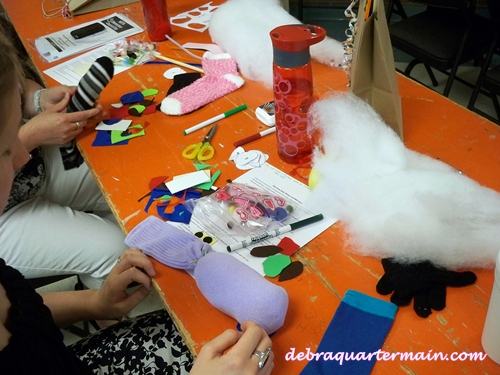
The bunnies did not turn off their phone! They were all ears!
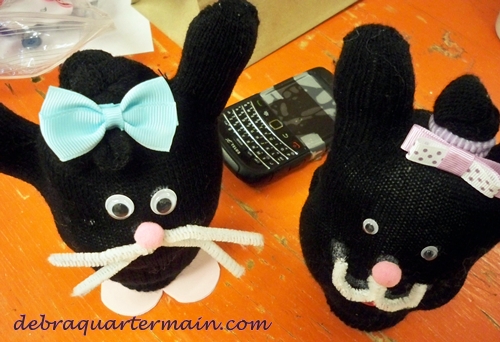
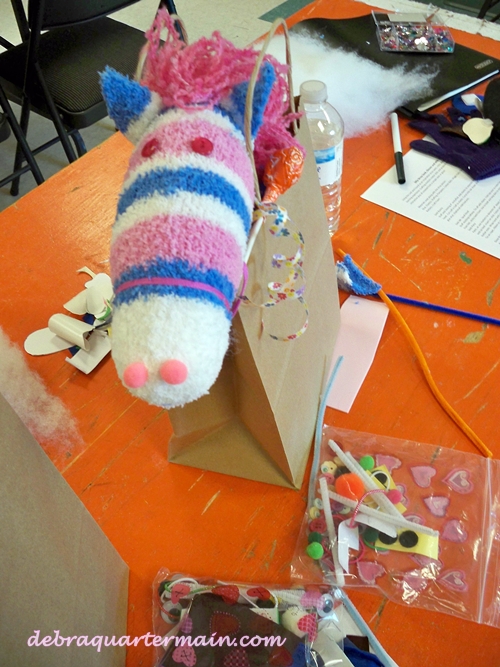
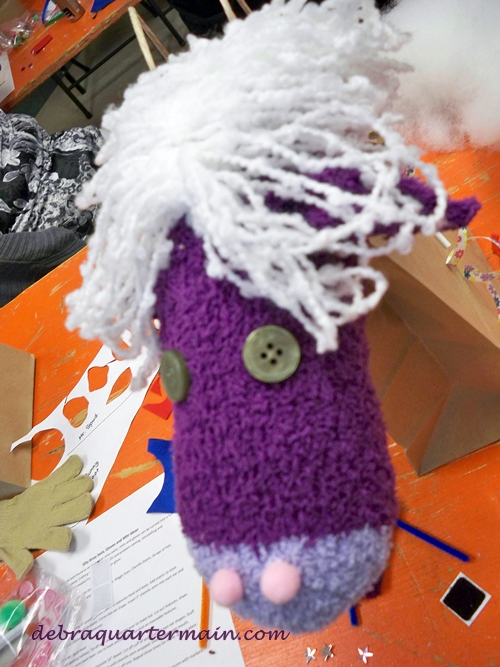
It was late when the gang got home, they were happy but so tired, the shark wasn't even tempted to nibble at Mr. Spud Head!
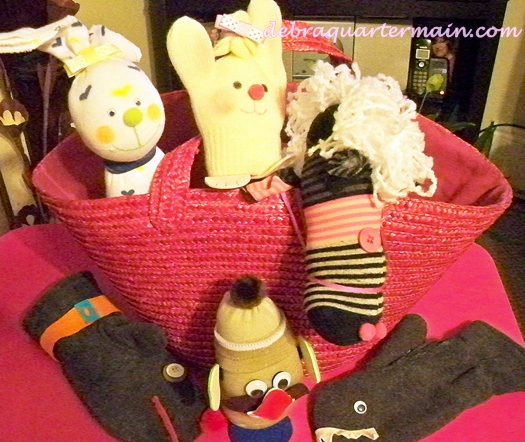
It was a fun day, the teachers were a great group! Happy Crafting! 
Friday, April 06 2012
Easter is a favorite holiday of mine, the pretty cotton candy colors, cute bunnies and chicks oh and of course the chocolate! Even though my girls are grown up we still have an Easter egg hunt although this year I was thinking of hiding Keurig cups as they both enjoy their coffees!
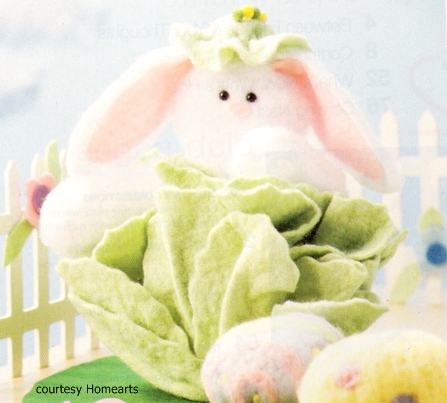
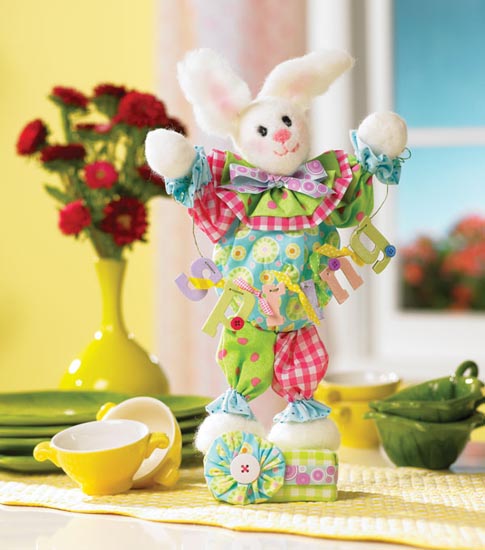
Over the years I have designed many bunnes which have been published in a variety of magazines. So in honor of the holiday, here is a roundup of some of my favorites. To go along with the bunnies, Crafts 'n Coffee is having a week of Eggstravaganza projects! Enjoy!

Monday, April 02 2012
It is the first Monday of the month and the Designer Crafts Connection Blog Hop is on! With Easter just a week away I wanted to design something to add to my Easter decor. I was also teaching a kid's needle felting workshop and they wanted to make a character inspired by Alice in Wonderland.
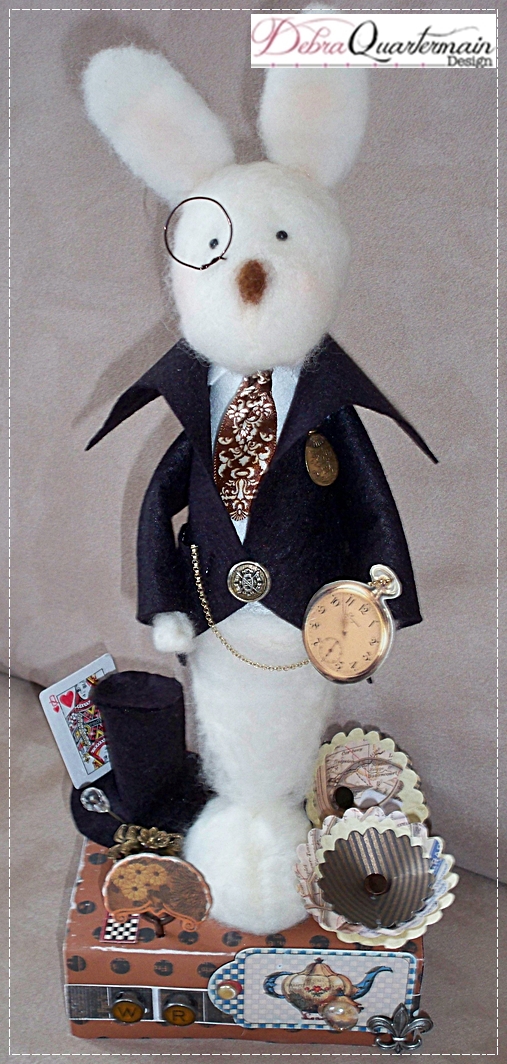
I decided on creating the White Rabbit with a dash of steam punk, (a departure from my usual cute bunnies !) The White Rabbit is a mixed media project incorporating needle felting, wool, foam, papers and embellishments.
You will need:
2 eggs, 1-7/8" x 2-1/2", 2 cones, 4", 12" sheet of STYROFOAM TM Brand Foam
.2 oz. Natural, Brown scrap of Wool Wisps by National Nonwovens
9" x 12" pieces of black and white felt by National Nonwovens
Playtimes Past Paper Collection by Graphic45
Flower, 3-D wrapped die by Eileen Hull for Sizzix, Big Shot by Sizzix
Antique Bronze Decorative Wall Hardware by Canvas Corp
Flip-Pal TM Mobile Scanner
Westcott Brand Titanium Scissors, Paper Cutter
Needle Pen Tool by Clover
Paper Adhesive, Mono Aqua, Glue Stick by Tombow
Fabric Fusion by Aleene TM, Ilovetocreate
Hot glue and gun
5" print Ribbon
6" Wire
2 black head Quilt Pins
1 white Chenille Stem
2 Wood Skewers, 3 Toothpicks
Cardstock
Ephemera
Glaze
Wire Cutters, Ruler, Pencil, Chalk, Foam base for needle felting.
1. Cut one foam egg in half for feet, cut two pieces 9" by 6" from sheet, stack and glue together for base.
2. Insert toothpick, glue two cones together for body. Cover lower cone with natural wool and begin needle felting.
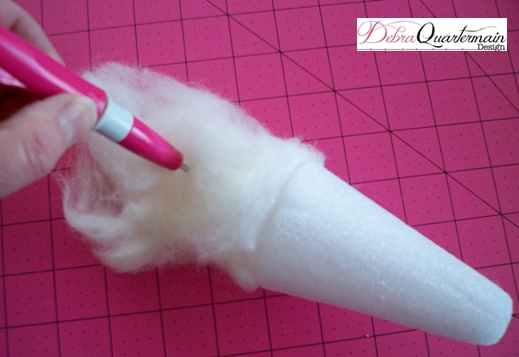
3. Cover egg for head with natural, needle felt. On foam base needle felt natural into two ovals 5" by 1 1/2" for ears, trim to desired shape. Needle felt to head. Insert pin eyes. Needle felt small nose as shown with brown scrap of wool.
4. Cover half egg for feet with natural wool, needle felt.
5. Pull two thin strands of wool for hands. Cut chenille stem in half. Begin wrapping wool at center of stem and wrap to end. Bend end of stem and continue wrapping back up stem. Glue ends in place.
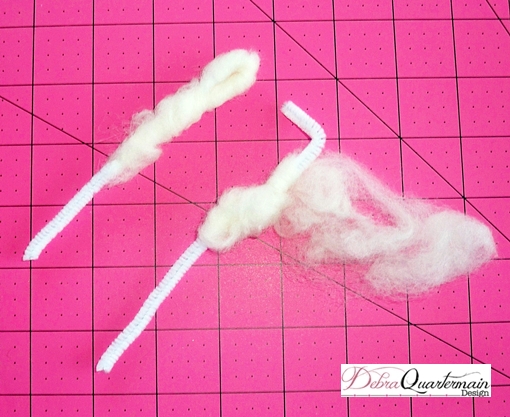
6. Insert a toothpick into head, glue to body (bare cone is top of body) pressing pieces firmly together.
7. Cut a piece of white felt 6" by 5". Fold in center and cut notch along top edge. Fold over for collar. Wrap and glue around top of cone.
8. Cut two sleeves from black felt 2 1/2" by 3". Cut a jacket 7" square. Fold the square in half. Measure 1 1/2" on open ends, cut in on diagonal 1" to make collar. Cut from this point on diagonal 3" back to edge. Cut back in on diagonal from this point to end. Fold collar, wrap jacket for fit around rabbit body. Decide on tails of jacket from back. Remove jacket and cut tails on diagonal.
9. Wrap jacket around rabbit. Glue in place. Fold sleeves in half, glue edges. Insert chenille stems with paws extended. Glue to back of jacket. Bend.
10. Knot ribbon piece in half. Trim ends to desired shape. Glue to front of rabbit.
11. Insert skewer through feet and body leaving 3" extending.
12. Cover base with papers, insert rabbit.
13. Embellish as desired!
14. Pocket watch was scanned with Flip-Pal Mobile Scanner and printed out onto cardstock. Glued to another layer, cut out and glazed.
15. Top hat was made from a 3" felt circle for base, a 2" by 3" strip overlapped and glued. Piece of black glued to top of cylinder and then trimmed around top edge.
16. Flowers were die cut and assembled inserting nail through centers. Insert nail ends into foam base.
Enjoy!
Follow the DCC hop to see wonderful spring inspired designs and great giveaways! Happy Hopping! 
Monday, March 26 2012
Easter is only a couple weeks away and even though my girls are grown now, we still have our traditional easter egg hunt. I enjoy always each year too finding a stray egg that was missed. One year as I hid the eggs our little dog followed behind me eating several candy eggs before I caught her! OOps I meant when the Easter Bunny was hiding the eggs!
This year I am counting the days till Easter weekend, I haven't seen my youngest since Christmas so can hardly wait until she is home and the three of us are together. My daughters are such a joy! My oldest daughter has just bought her first home, so exciting and she is moving in June.
This year if you are looking for inspiration to craft some eggs to fill a basket or two Crafts 'n Coffee is having an Eggstravaganza and giveaway so hop on over! I have experience with hopping seems my bunny designs have multiplied over the years! I will be sharing some of my favorites. Full instructions for the Jester Bunny at http://www.creativehomeartsclub.com/projects/articletype/articleview/articleid/670/spring-jester-bunny
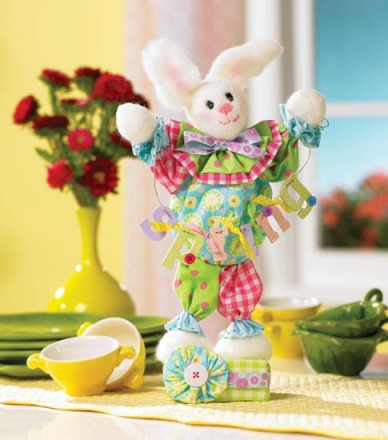
Designer friend Eileen Hull who designs dies for Sizzix is hosting a linky Spring Party and giveaway. Eileen's dies are wonderfully versatile allowing you to create layered textured accents and elements from a variety of materials. Check out the inspired creativity! 
Wednesday, March 14 2012
Today I am making a presentation to the textile students at the New Brunswick College of Craft and Design in Fredericton, NB. I am both excited and slightly nervous as they are a young innovative talented group and I am hoping I can make an interesting presentation.
In putting my presentation together meant a trip down memory lane and to all the experiences I have had along the way in this creative journey. Many happy accidents and mistakes I have hopefully learned from. I did not have a plan but fell into a path and followed it, I have learned now to realize preparation is a huge part of it but also serendipity plays a part too. However that means putting yourself in a place, being visible to make that happen. To be open, to be yourself and to believe you have a gift to share.
To today and the bunny that began it all! Follow the JOY!
Thursday, April 01 2010
I am a Calendar Gal! well almost...every year Creative Homearts puts out a calendar, my bunny is April! Spring time cuteness is hopping everywhere! Margot Potter designed the cutest Peep bunny necklace for ILovetoCreate. Designer Eileen Hull's Sizzix Scoreboards TM are featured in another blog hop. The talented designers involved are turning out gorgeous projects. I will be part of the next one coming up in two weeks.

Heidi Borchers, "Eco Heidi" has begun a campaign to recycle Starbucks coffee cups into amazing art pieces. She has a video showcasing the wall art created. Thinking it would great for Tim Horton's in Canada! The numbers of cups thrown out everyday is staggering. In Canada we roll up the rim for prizes, thinking roll up the rim with a prize for recycling would work. How cool would it be to see recycled cup wall art in every Starbucks and Tim Hortons! Lets put the heART in ART! Debra, CEO!
Monday, March 22 2010
Spring has officially arrived and here in the Maritimes we like to celebrate with a little dusting of the white stuff once again! A light snowfall adds glitter to the colorful crocus! The latest issue of Homearts magazine just arrived in my mailbox, this bunny I loved making. I have to admit needle felting whimsical characters is my favorite craft! It is an easy portable craft, I have step by step instructions on my How To page!
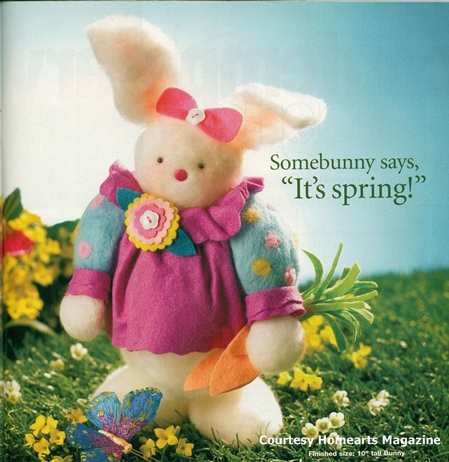
STYROFOAM TM brand foam is so easy to needle felt with. Paper craft brads are ideal for eyes and noses. If you stick an eye in the wrong place you can always move it!
I am busy finishing up a couple big projects, the outcome you never know! I am doing my best work I can and the rest will be decided. All I know is to "Follow the JOY!" Debra
Thursday, March 04 2010
I confess to an addiction which has now become very public and since it has been a trying week in some ways even for me a proclaimed CEO! I am confessing all and indulging in some silliness. I love making bunnies, their sweet little faces, floppy ears, fluffy tails and giving them personalities with accessories and varying expressions. My belief is there can never be enough of something that makes you smile and touches your heart. One of my favourite bunnies "Cute as Button" is in the current issue of Creative Homearts magazine. She is easily created with wool, bamboo Xotic felt from National Nonwovens and STYROFOAM TM brand foam by Dow (another bunny "itsy bitsy bunny" pops up there on the home page!)

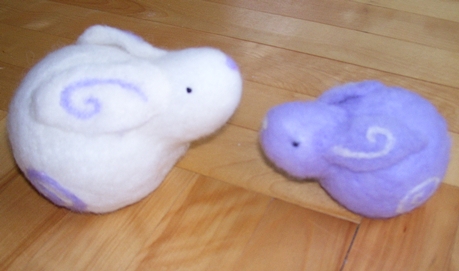
In the current issue of Crafts 'n Things is another needle felted duo of bunnies. I especially like their swirl design.
Online at Creative Homearts is the pattern and instructions for the Jester Spring Bunny
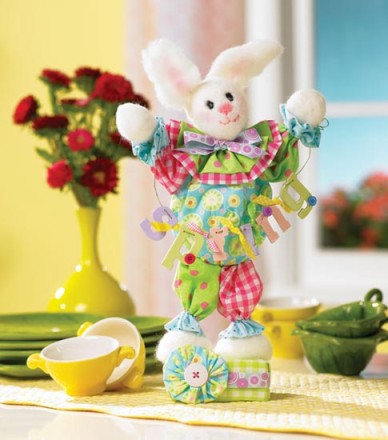
just in case anyone is in a bunny mood! I think bunny fever is in the air especially with the release of Alice in Wonderland. Hmm the silliness continues I am off to make a White Rabbit...my goodness what is the time?! Follow the rabbit, Always follow the JOY! Debra, CEO!
|