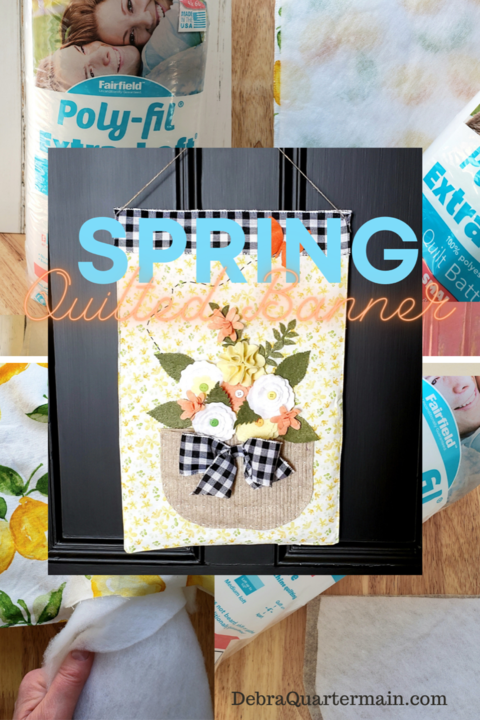
Hello Spring! Here on the East Coast of Canada we still have lots of snow but I am dreaming of my garden and of course fresh garden decor. In partnership with Fairfield World I am delighted to bring you my Spring Quilted Banner. This only requires some hand sewing as I like to create easy DIY projects and love incorporating placemats and napkins into decor items.
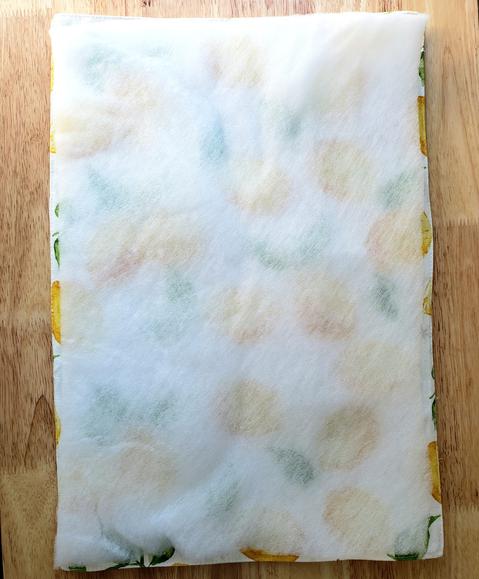
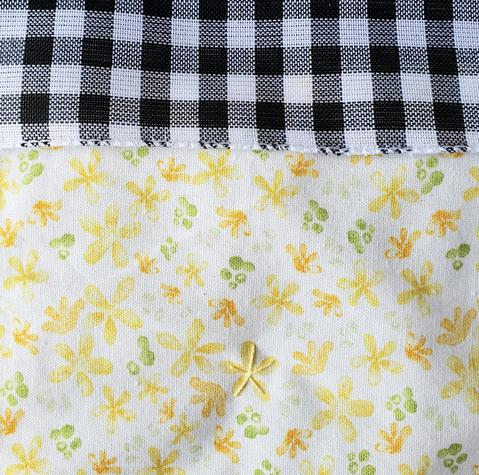
For this project I used a placemat which has a pretty design on both sides so the banner looks good coming and going. Placemats are 12" wide which is the width of most banner rods so that is very convenient.
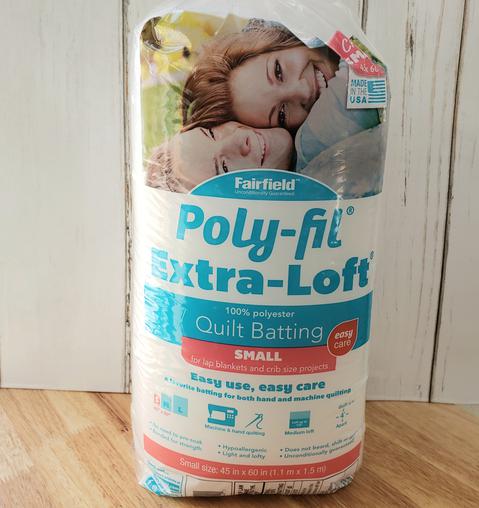
The Quilt Batt, Fairfield World's Poly-fil Extra Loft Polyester Quilt Batt, Crib Size.
Materials and Supplies Used:
Step 1:
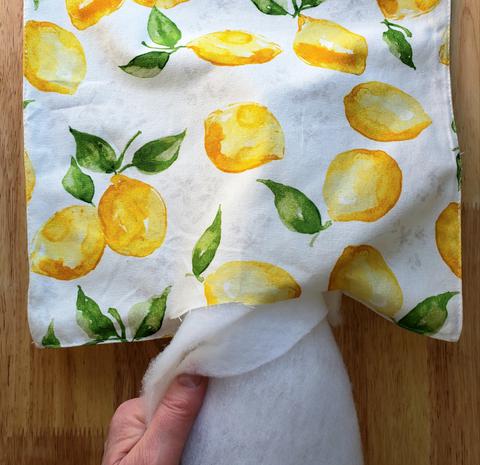
Using placemat as a guide cut a piece of quilt batt slightly smaller than placemat. Decide on what side of placemat is front of banner. Cut 4" slit lengthwise 1" down from one edge of wrong side.
Step 2:
Fold quilt batt slightly and insert into placemat. Push into corners and press flat.
Step 3:
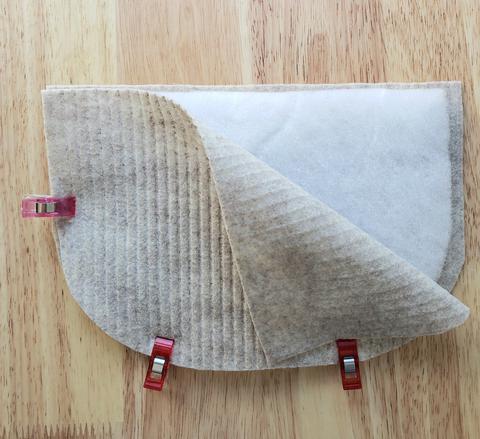
Cut the sandstone piece of felt in half. Fold one piece in half again and cut a curved edge. Unfold and use as pattern to cut a second basket back. Use one piece as a guide to cut quilt batt slightly smaller than basket size.
Step 4:
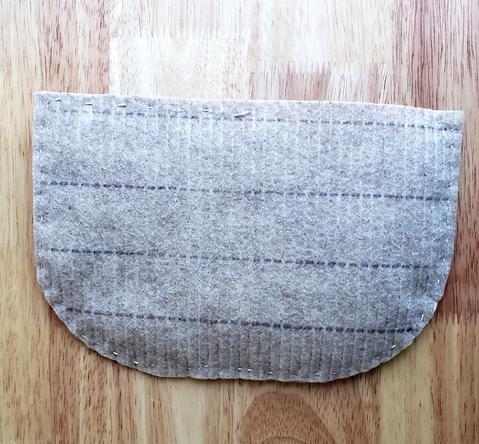
Draw equal lines across back of one basket piece. Make a sandwich of the three basket pieces with quilt batt in center.
Step 5:
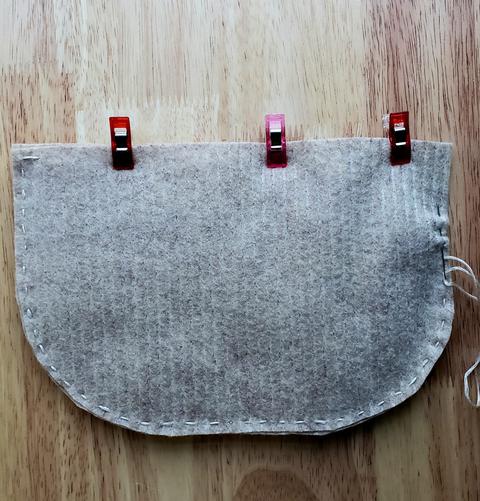
Straight stitch around edges of basket. Stitch across marked lines on back.
Step 6:
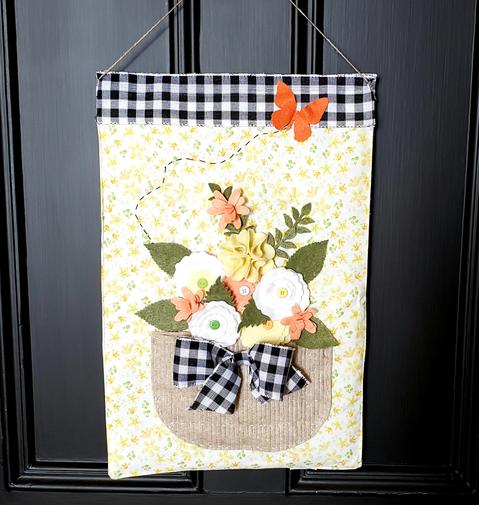
Glue piece of ribbon along top edge of placemat back covering opening. Glue piece of ribbon along front matching the back. Leave ends open. Add extra quilted details like straight stitched flowers.
Step 7:
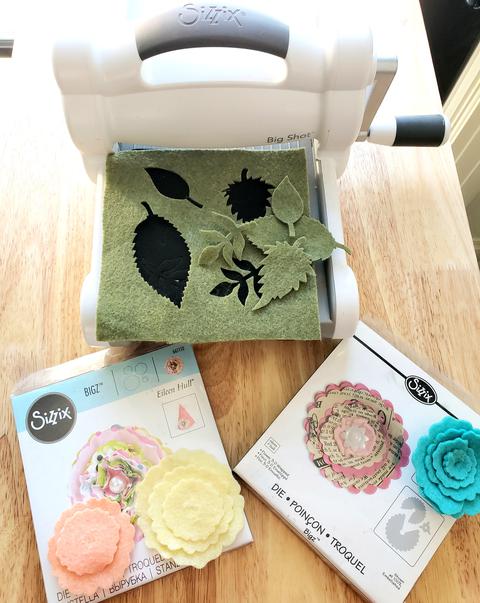
Die Cut flowers and leaves.
Step 8:
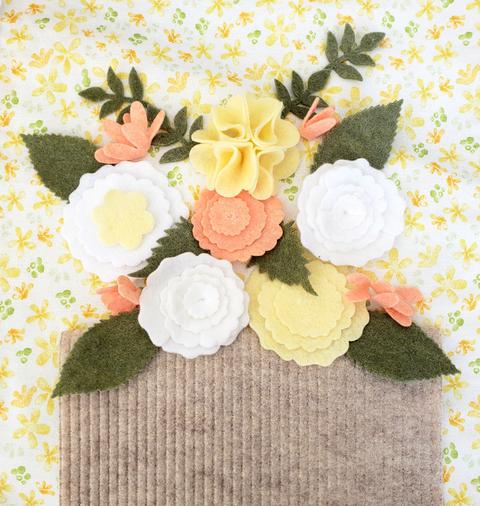
Create flowers. You can use my layout as a guide but create the layout, flowers and colors of your choice. Layout flowers out and take photo.
Step 9:
Glue basket and flowers to banner. I added stitching and a felt butterfly. Tie a bow from remaining ribbon and glue to basket. Tie jute on one end of dowel. Insert through top of banner. Tie jute on opposite end of dowel. Glue and trim jute ends.

This banner is ready for my garden! The quilt batt will keep it hanging nicely when there is wind and allow it to dry quickly. Check out more of the inspiring projects by Fairfield World, follow them on FB and Instagram!
Thanks for stopping by!
Debra